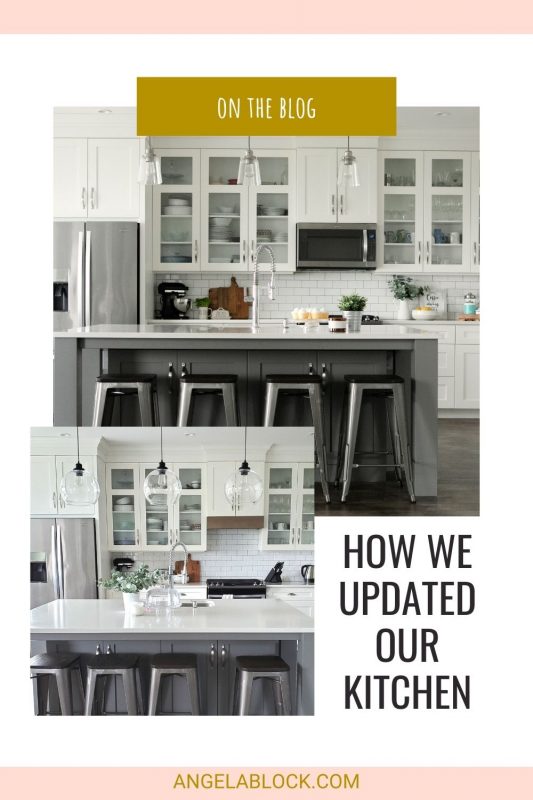
Updating our kitchen became a priority when our over-the-range microwave broke. Moving every couple of years definitely can be a good thing when you want to keep on top of design trends. This is the longest at 4.5 years I have ever lived in a house in my whole life! One of the things I had been noticing since we built our home over 4 years ago, is no one wants a microwave above the stove anymore. To me it was perfect! Such a cost and space saver. I am just that kind of girl tho, totally practical on cost and function while still looking good.
Being a designer comes with its perks when it comes to my own home. I have trades I can easily call when I need something updated. It also helps being married to my very handy contractor husband who is amazing at fix-ups and DIY (when he has time). Much to his dismay, I always have another project on the go. Time and money is always the issue tho, isn’t it? That’s kind of the downfall of being a designer… I feel like I always need to stay ahead of the trends. It can be a lot of pressure but also so much fun too as I love change!
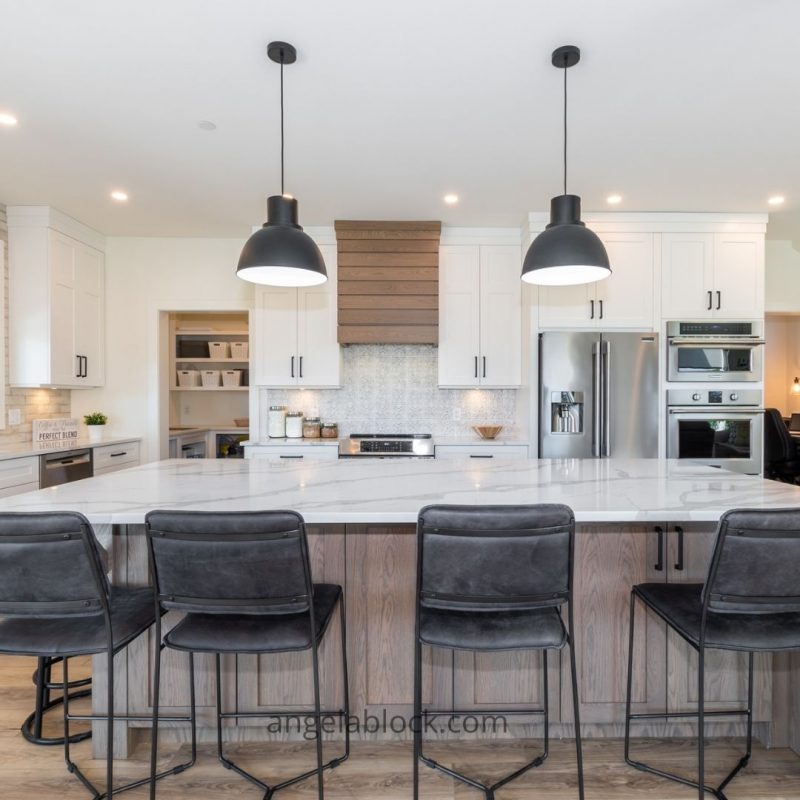
So when my above-the-range microwave broke, instead of buying a new one, It was a perfect time for an update! I found an inspiration pic off Instagram that would actually work perfectly in our space without doing a huge reno.
Our kitchen update
The inspiration
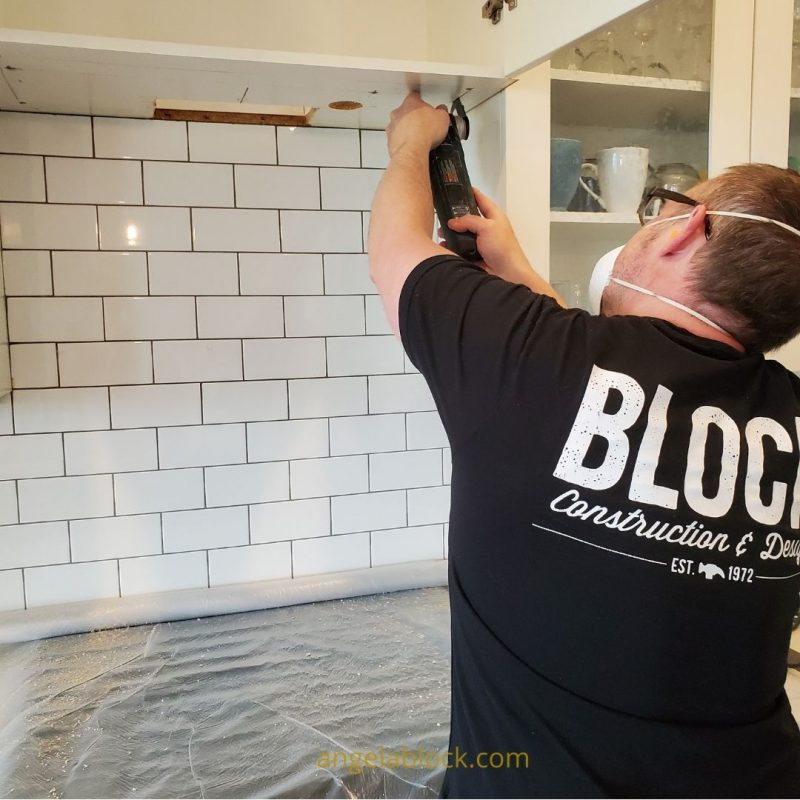
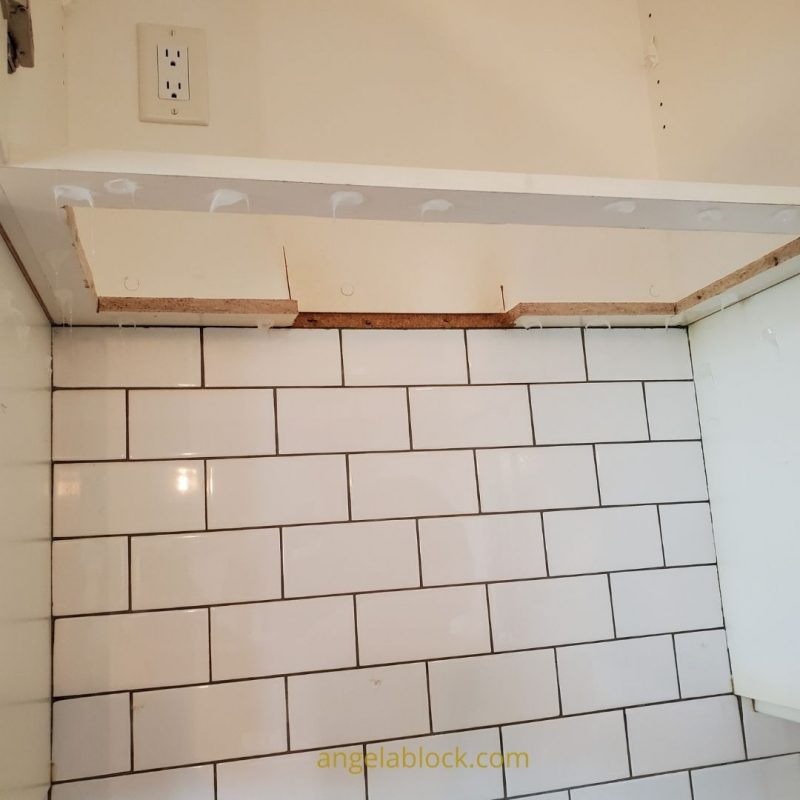
Taking down the old vent
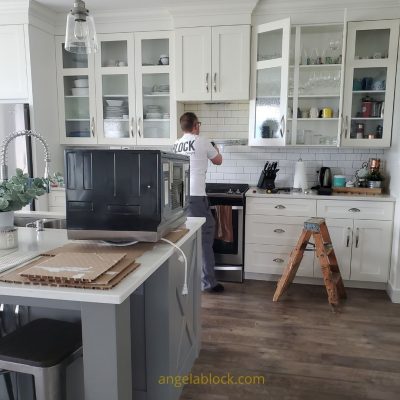
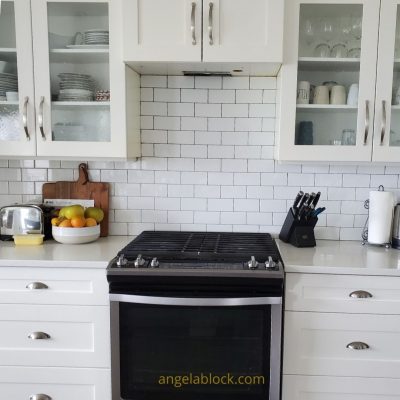
Much to our excitement, the tile backsplash went all the way up behind the microwave! I def recommend tiling up as far as you can go as you never know what you need to adjust down the road.
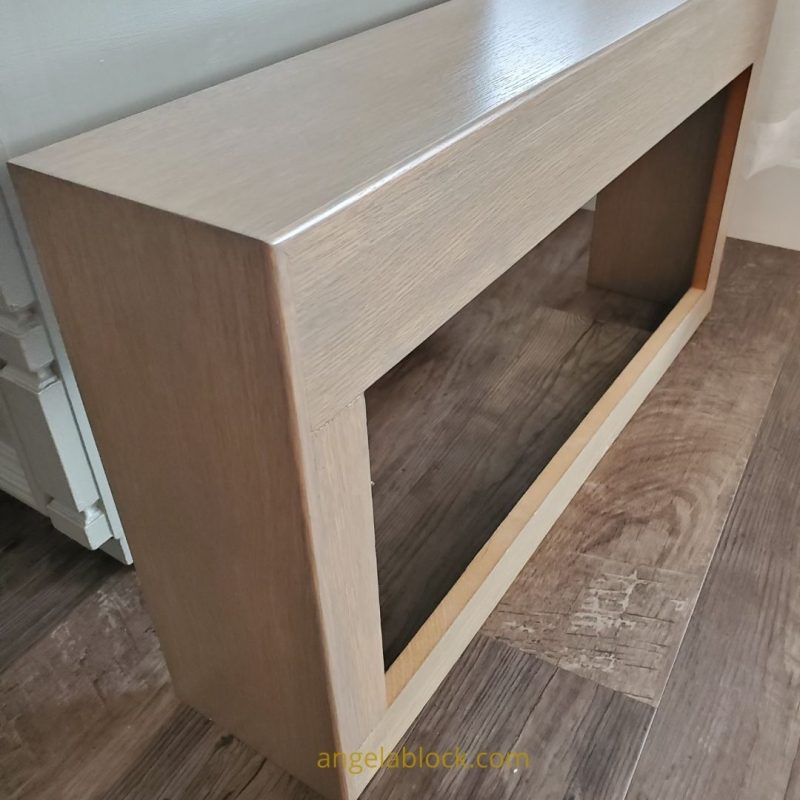
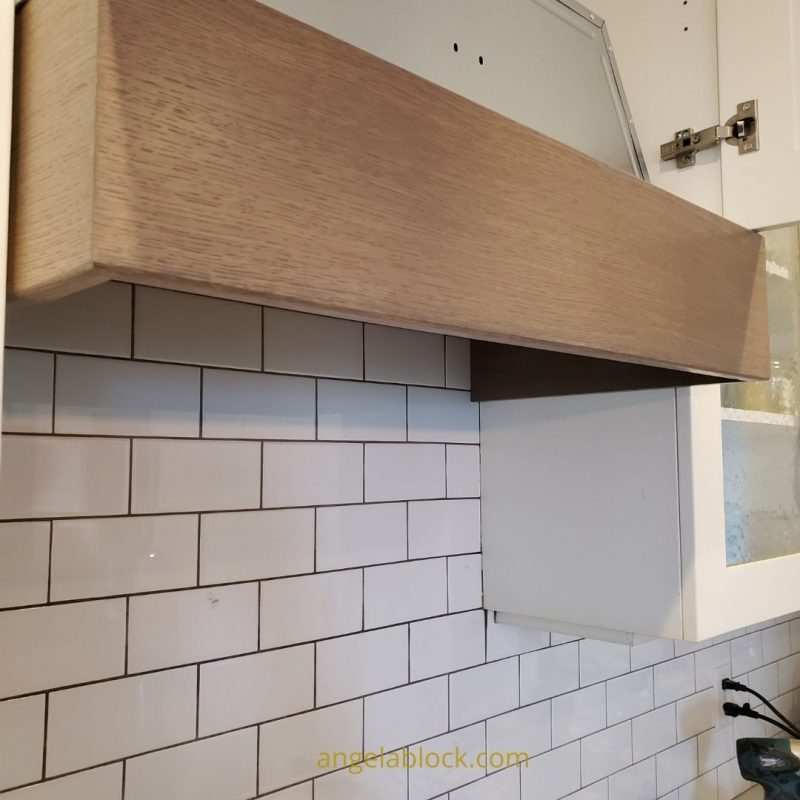
We sent the hood fan cover measurements to our cabinet guy and chose a stain that would work with our space. He actually used a piece of white oak wood and then rubbed a light layer of Benjamin Moore-Chelsea gray paint over it and wiped it off right away to grey the wood slightly. White oak wood tends to go slightly pink when you add a clear coat to it. Stains can vary so much on each species of wood. Chelsea grey happens to be our island color as well, so the tone was perfect to blend with everything.
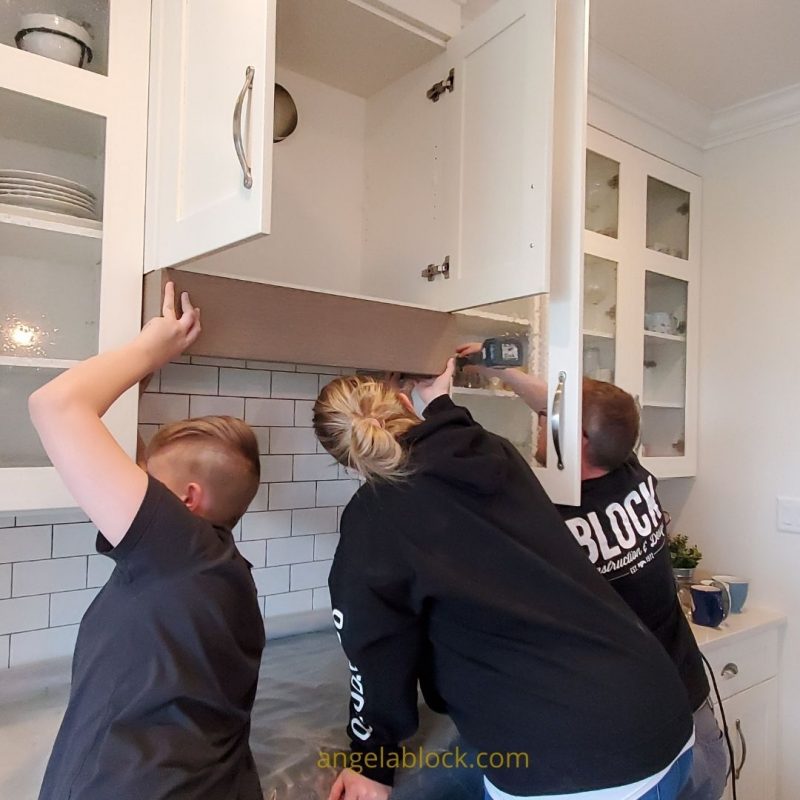
We saved money on the fan cover by having Ryan install it. If you are really handy, you could even try to make it yourself.
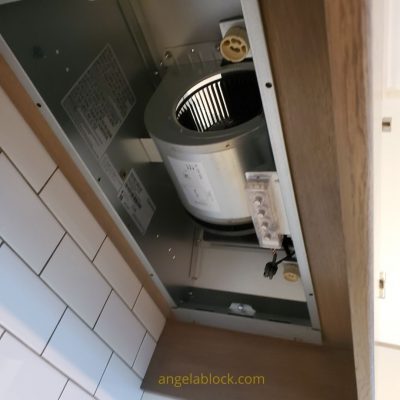
We ordered a fan insert that would fit the space and was readily available. Supplies seem to be very limited these days, so we order what is available rather than waiting for months for something that could be delayed even longer. I had wanted a new cabinet door with the shiplap like the inspiration picture, but that would have been an extra unnecessary cost. There was also concern that our cabinet paint color Chantilly lace by BM had aged slightly over time and may not be a perfect match now. So we decided to keep it simple for now and we can always upgrade the upper door down the road.
The new vent and cover
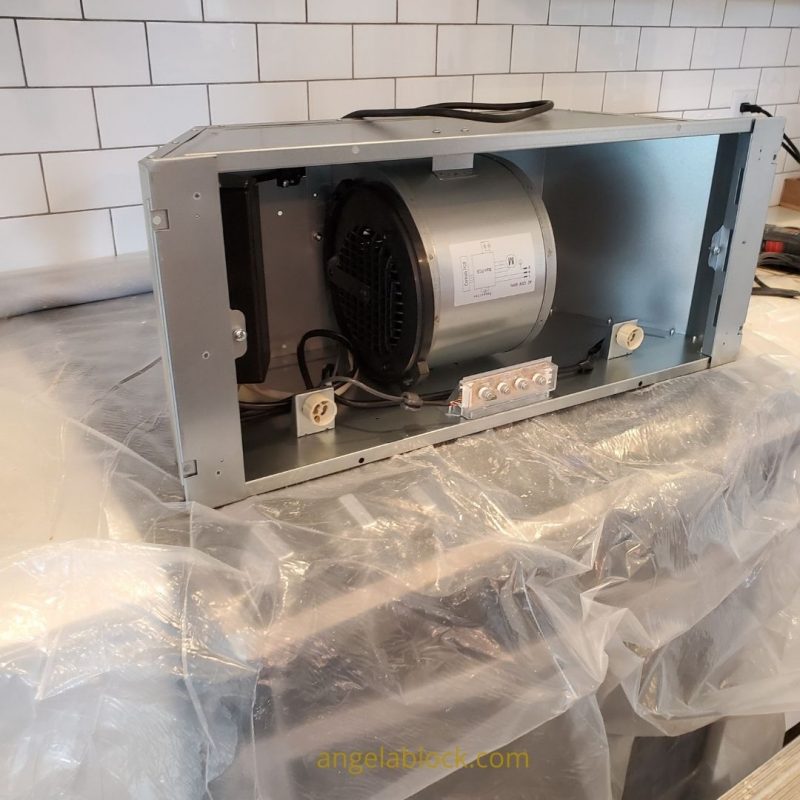
Installation
New lighting
If you give a mouse a cookie… Now that our kitchen had a fresh look, of course, I had to change our lighting over the island too. I had always intended to paint them black when we were building our home but never got the chance. We purchased the original ones second-hand which became the inspiration for our whole kitchen! It was now time for an update with these lights I never got around to painting. After looking at quite a few other options, even trying out some lights we had leftover in the garage from another project. We finally decided to just get out the black spray paint and replace the existing glass on our pendants. Spray paint with a built-in primer helps ensure it adheres to your clean metal. I found round glass covers from Ikea for a really good price and they fit perfectly! Putting together an inspiration board really helped me know which lights would work best for our space.
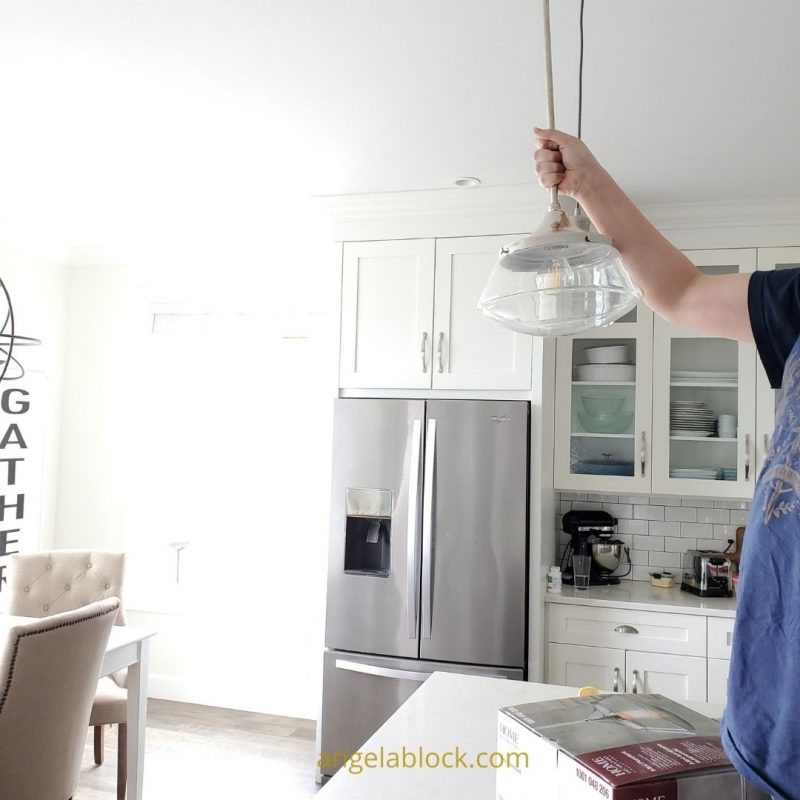
painting the old lights
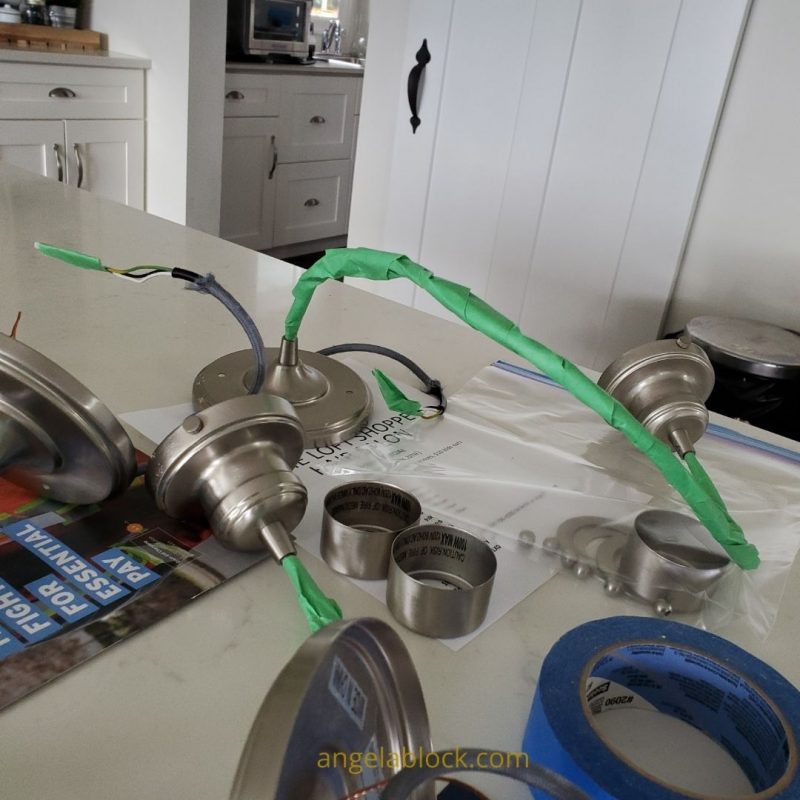
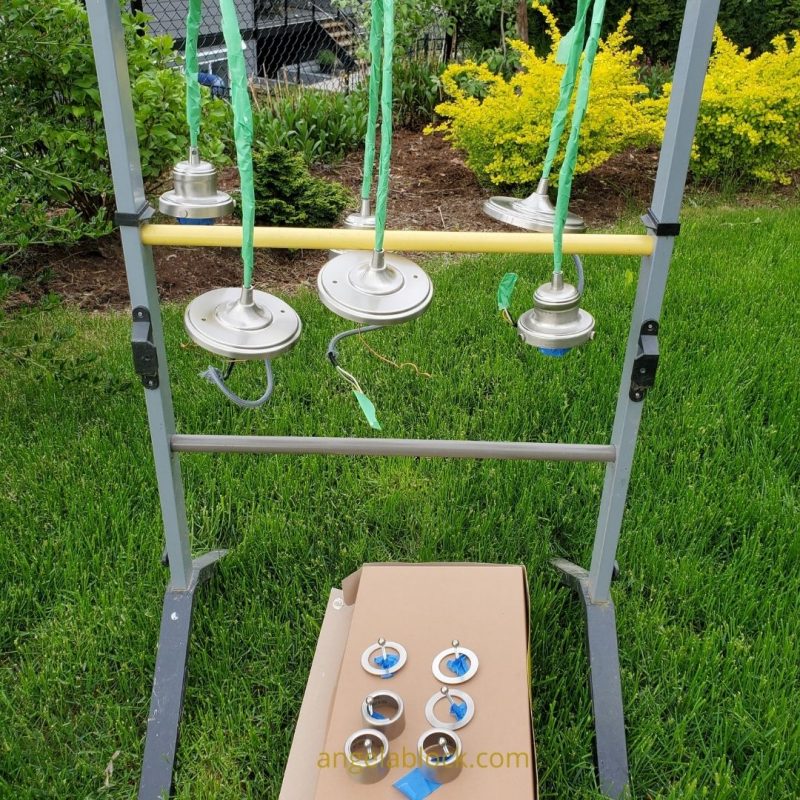
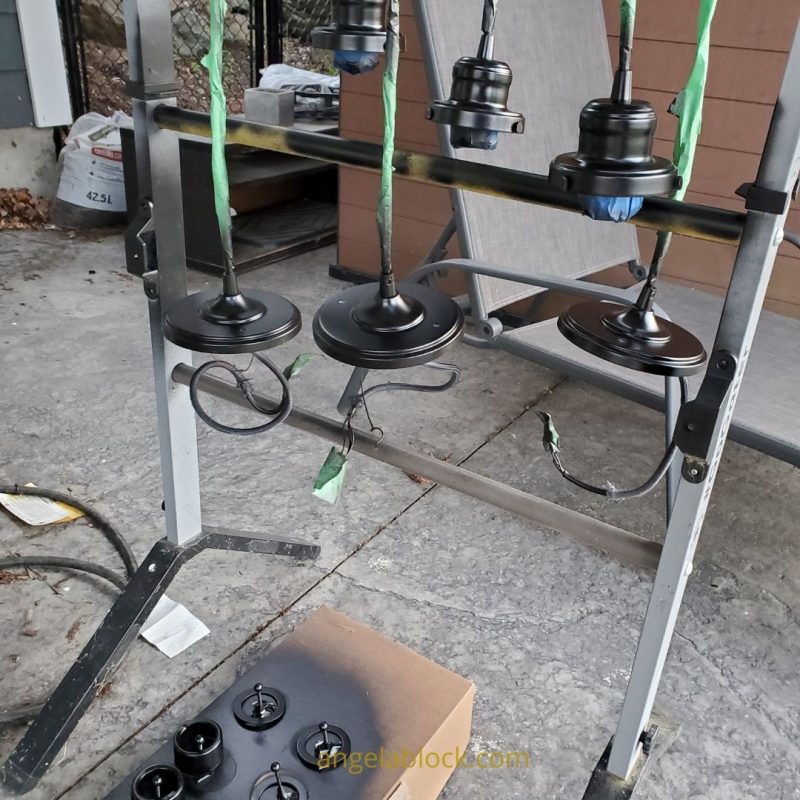
Kitchen Before update
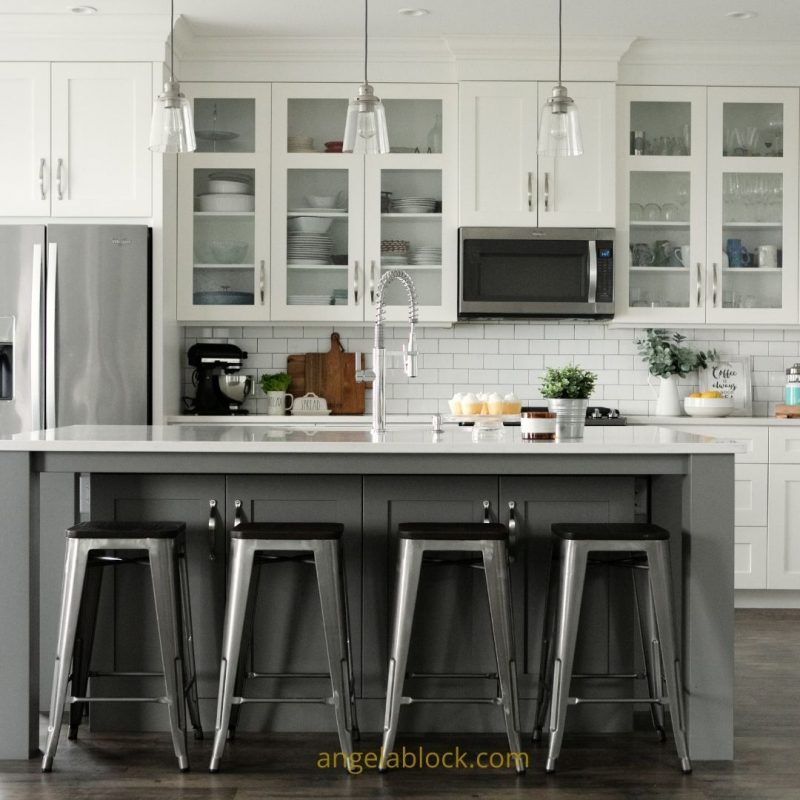
Kitchen after update
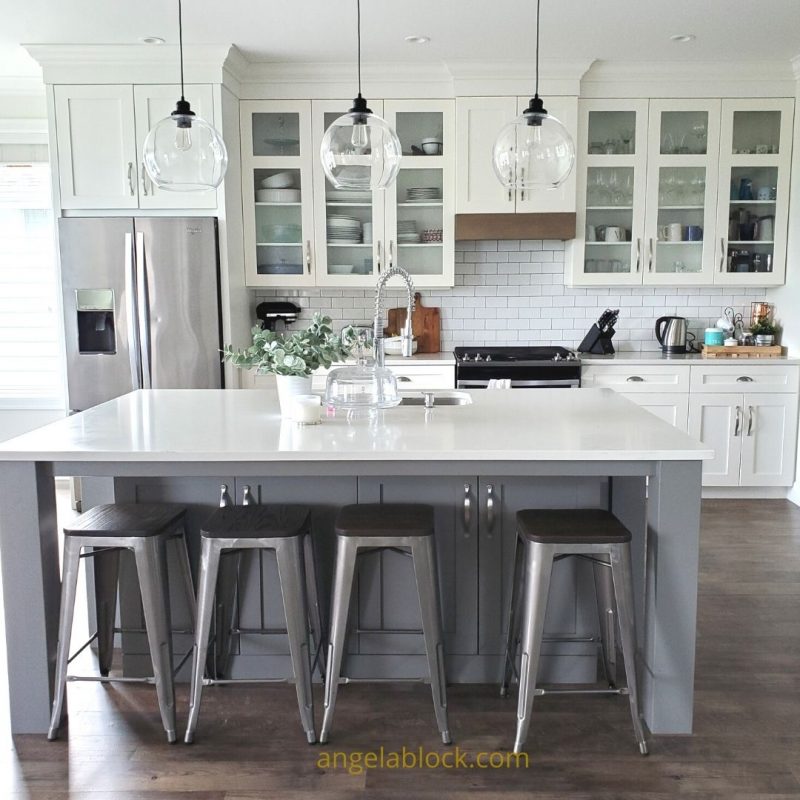
I love my newly updated space! It feels right on trend with the boho and natural woods on trend. Everything has a slight 70’s feel which is so fun! The only trouble is… now I want a new dinner table, new sofas, and to maybe paint my cabinet handles black too. Oiy… don’t give this mouse a cookie;)
Of course there is bread
And what better to go in my new kitchen than some yummy sourdough! A friend of mine handed me a starter and said make bread! So I did, and I keep making bread regularly now. Once you get the hang of it, it’s sooo yummy, easy, cost-effective and only 3 ingredients so it’s healthy right???
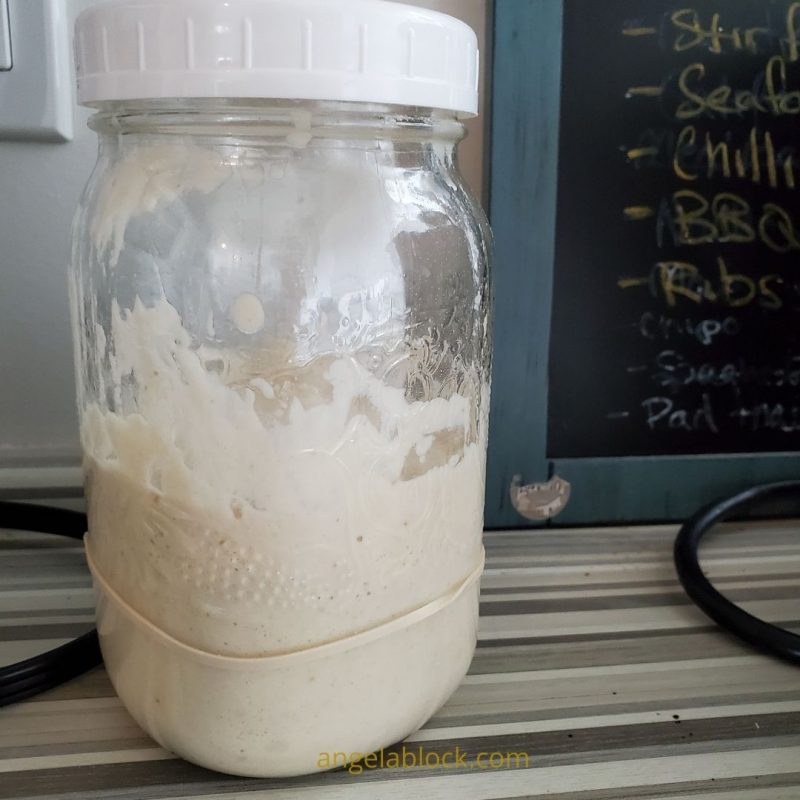
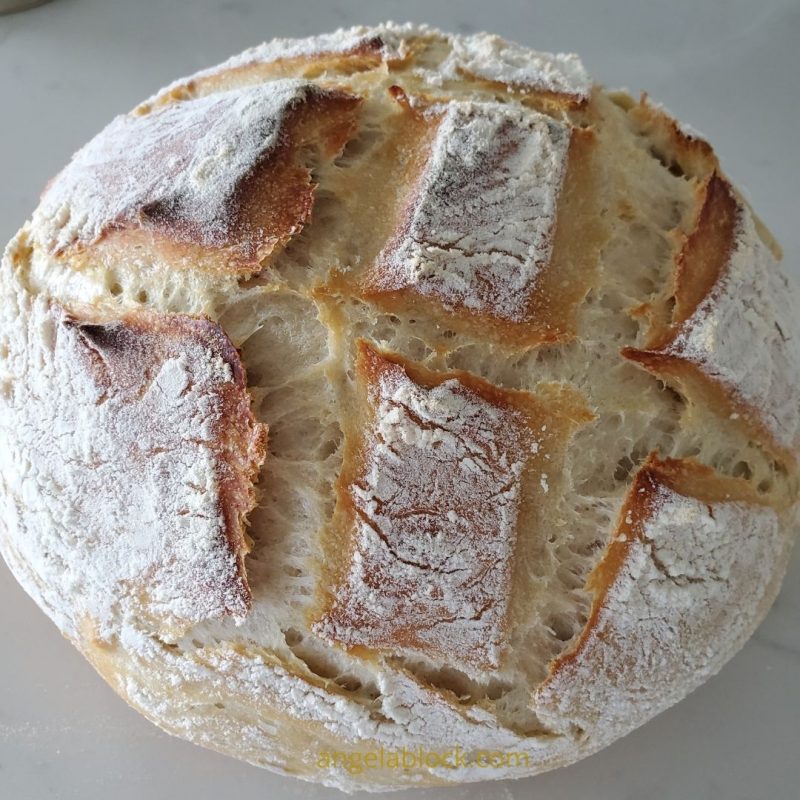
Getting organized in my kitchen
And then of course it was time to freshen up my spice drawer…
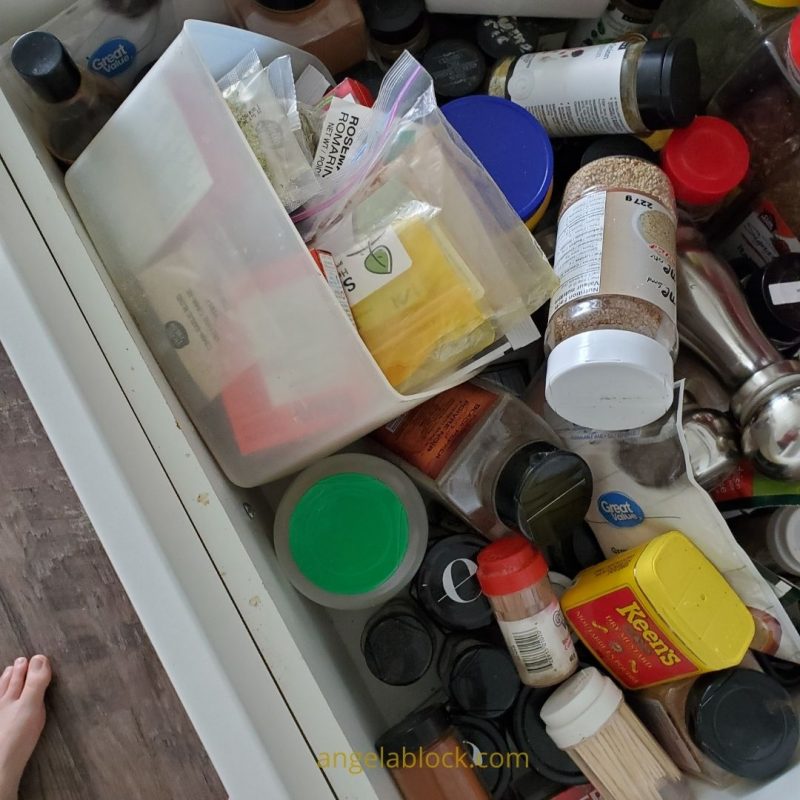
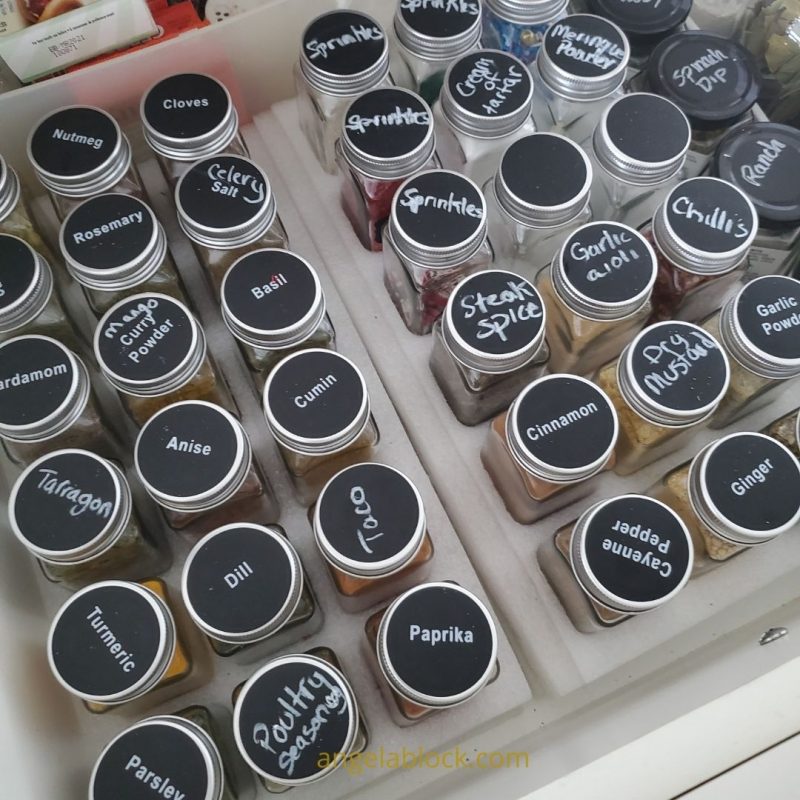
Coming soon a post on how I got my spice drawer pretty and organized. Now it makes baking and cooking a breeze!!!
All in all, the kitchen updates were under $1000. And that’s only because the hood fan cost a good chunk of that. We no longer have a microwave… but maybe that’s healthier anyways! We can always place one in our pantry if we find we need it. Using an air fryer or the frying pan to heat up leftovers seems to work out just fine.
Sometimes a simple update is all you need to feel good about your home again. Now I just need to do some paint touch-ups so my walls feel fresh again too. Need help knowing where to start with your update? Grab a design consult here friend! And if you wanna know how to make a design plan to freshen up your space, you will love my Decorating 101 course! And don’t forget to pop your email below for regular design newsletters right to your inbox!
Angela



Leave a Reply